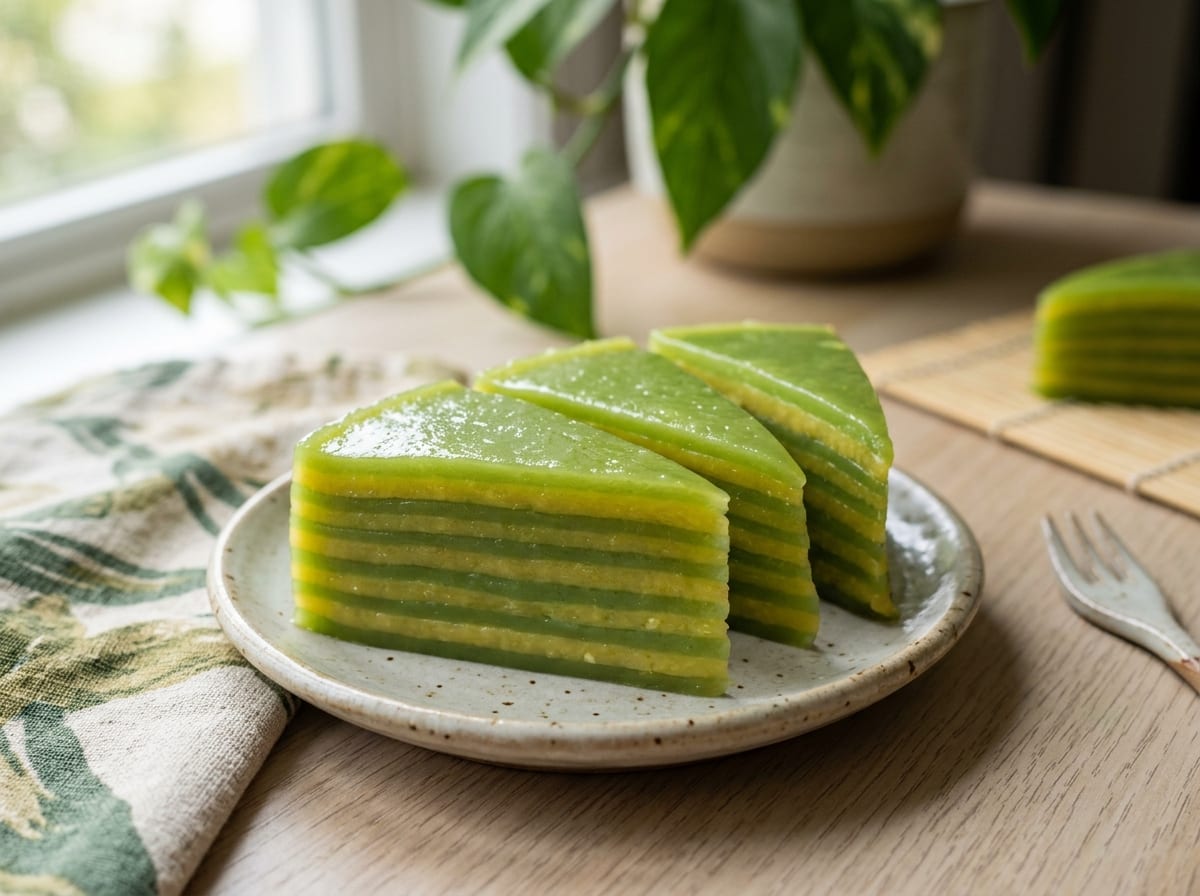
Bánh Da Lợn (Vietnamese Pandan and Mung Bean Layer Cake)
A Southern Vietnamese steamed layer cake, striped bright green with pandan and gold with sweetened mung bean, dense, glossy, and chewy under coconut milk.
Quantities and steaming schedule adapted from Take Two Eggs and What to Cook Today, cross-checked against Runaway Rice's layer timing
Ingredients
Written for a 20 cm dish
Pandan layer
- 200 g tapioca starch rounded
- 45 g rice flour rounded
- 100 g granulated sugar rounded
- 1.5 g fine salt rounded
- 250 ml water rounded
- 180 ml full-fat coconut milk rounded
- 2.5 ml pandan extract or paste, start with this much, brands vary a lot in strength rounded
- to taste green gel food colouring, only if the extract alone leaves the layers pale (optional) rounded
Mung bean layer
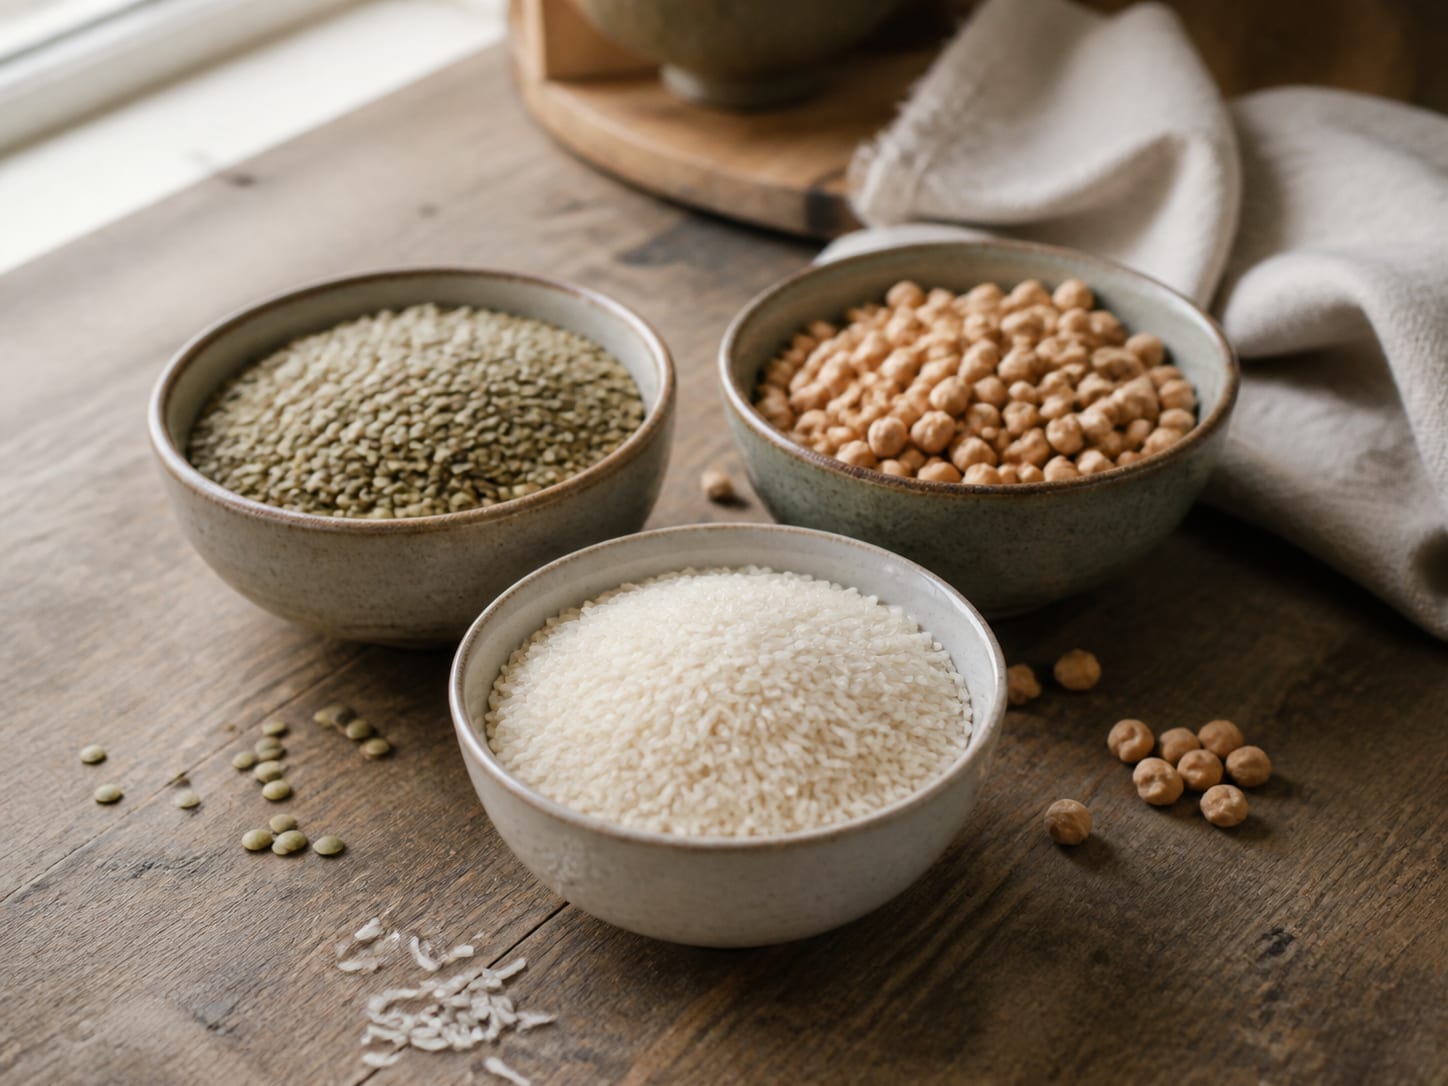
- 120 g dried split, hulled mung beans (mung dal), soaked at least 4 hours or overnight, then drained rounded
- 250 ml water, for simmering the beans rounded
- 250 ml full-fat coconut milk rounded
- 100 g granulated sugar rounded
- 170 g tapioca starch rounded
- 35 g rice flour rounded
- 1.5 g fine salt rounded
Dietary labels are a guide, not a guarantee. If you have an allergy, read the ingredients yourself.
Method
This is a genuine project: nine thin layers, steamed one at a time, with real hands-on attention the whole way through. Budget close to two hours of active cooking and steaming once the beans are soaked, plus a long cool before you cut it. Don’t rush the layering; it’s the whole point of the cake.
- At least 4 hours ahead, or the night before, rinse the mung beans well and soak them in plenty of cold water.
- Drain the beans, put them in a small saucepan with the 250 ml water for the mung bean layer, and bring to a boil. Lower the heat, cover, and simmer 15 to 20 minutes until completely soft, stirring now and then so they don’t catch. Drain off any water still standing on top.
- Tip the cooked beans into a blender with the coconut milk, sugar, and salt for the mung bean layer. Blend until completely smooth, at least a minute or two; a few small flecks are fine, but no whole beans should remain.
- Whisk the tapioca starch and rice flour for the mung bean layer into the blended mixture until smooth, then pass it through a fine sieve into a jug to catch any lumps. This is the mung bean batter.
- In a separate jug, whisk together the tapioca starch, rice flour, sugar, and salt for the pandan layer. Whisk in the water, coconut milk, and pandan extract until smooth, then sieve into a second jug. Stir in a drop of green food colouring now if you’re using it; the extract alone often gives a pale jade rather than a bright green.
- Grease a 20 cm square (or similarly sized rectangular) heatproof dish and set it inside a large steamer over simmering water. Let the empty dish heat through for a couple of minutes before you pour anything.
- Stir both batters well; the starch settles within a minute of standing. Pour a thin layer of pandan batter into the hot dish, just enough to coat the base evenly, about 150 ml. Cover and steam 5 minutes, until the surface has gone from liquid to matte and set, no longer wobbling when you nudge the dish.
- Stir the mung bean batter and pour a layer over the set pandan layer. Cover and steam 5 minutes, until it sets the same way.
- Keep alternating, stirring each batter before every pour, pandan, then mung bean, then pandan again, steaming 5 minutes between each layer, until you’ve built nine layers in total (five pandan, four mung bean) and used up both batters. Keep the layers thin and even; a ladle or measuring cup helps you pour a consistent amount each time.
- Steam the finished stack for a final 15 minutes so the top layer and everything underneath is fully cooked through. It’s done when each layer has turned from liquid to matte-set and glossy, chewy but firm when you press it lightly.
- Lift the dish out and let the cake cool to room temperature, about 1 hour, then refrigerate uncovered until fully cold and firm, at least 2 to 3 hours or overnight for the cleanest slices.
- Cut the cold cake directly in the dish with an oiled or wet knife, wiping the blade between cuts, into 10 rectangles.
Notes
- Fresh pandan leaves give the deepest, grassiest pandan flavour and the truest colour, but they are hard to find outside of Southeast Asian grocers in most of Germany. Pandan extract or paste, sold in small bottles near the coconut milk in Asian supermarkets, is the practical substitute used here; it reads clearly as pandan but tastes rounder and less green than fresh leaf juice, and usually needs a drop of food colouring to reach the same vivid stripe. If you do find fresh or frozen leaves, blend 8 to 10 of them with the 250 ml water called for in the pandan layer, strain well, and use that pandan juice in place of the plain water and the extract.
- Keep both batters moving. Tapioca starch and rice flour settle to the bottom within a minute of standing, so stir each batter again immediately before every pour or the bottom layers will end up noticeably thicker than the top ones.
- Keeps well chilled and covered for up to 4 to 5 days; the layers actually firm up and slice more cleanly after a day in the fridge. Serve cold or at cool room temperature. It can be frozen, but the chewy texture softens a little on thawing, so it’s best made within the week you plan to eat it.
Sources Consulted
- What to Cook Today, “Bánh Da Lợn (Vietnamese Steamed Pandan and Mung Bean Layer Cake)”
- Take Two Eggs, “Banh Da Lon”
- Runaway Rice, “Steamed Layer Cake (Banh Da Lon)”
Fresh pandan leaves are the traditional colourant and flavour base; this version uses pandan extract or paste plus a little food colouring since fresh leaves are hard to source in most of Germany, see the Notes below for the honest trade-off.
From Christoph Mayer