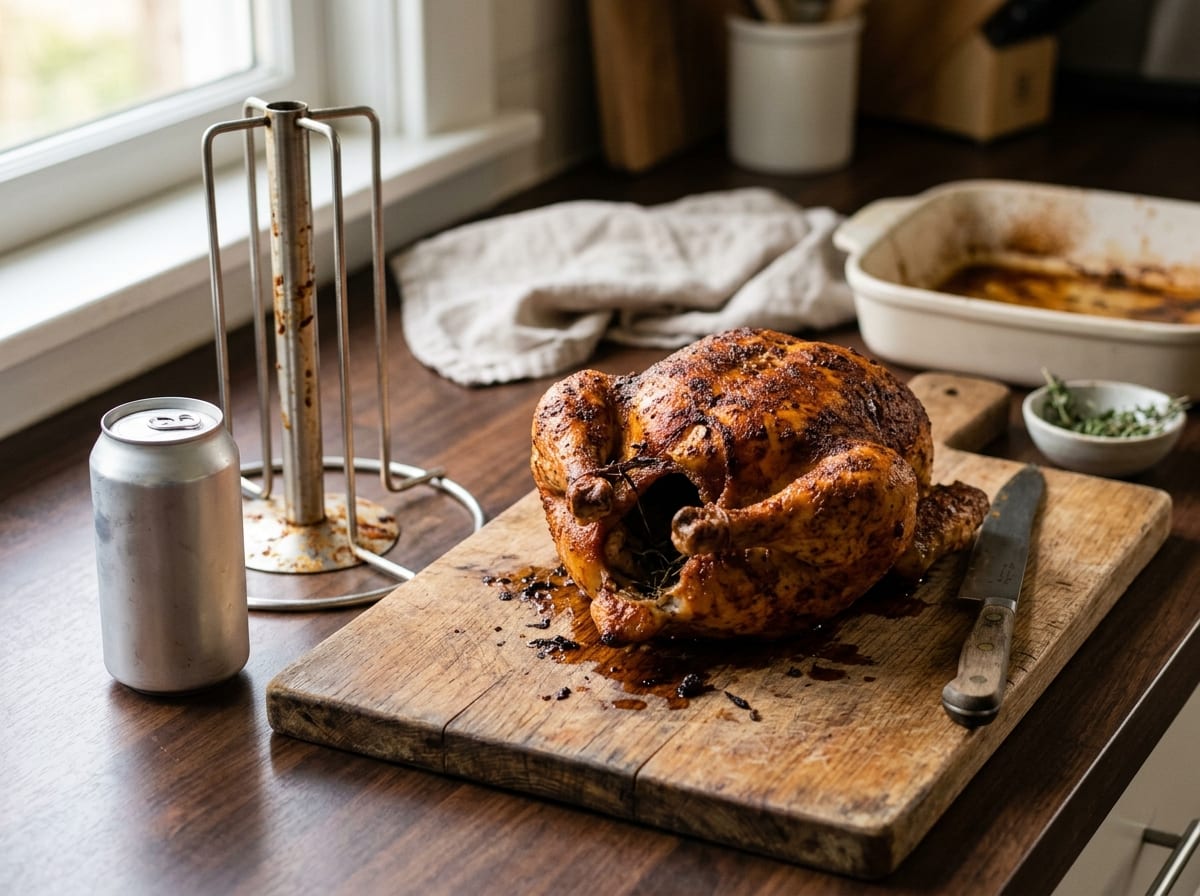
Beer can chicken
A whole chicken stood upright over a half-full can of lager, or better, a proper vertical roaster stand, and rubbed with a straightforward barbecue spice mix. The beer's real contribution turns out to be modest; the upright position doing most of the work by letting hot air move evenly around the bird and the fat render on all sides.
Classic backyard beer-can (or vertical roaster) method, kept to a plain lager and a straightforward barbecue rub rather than a flavoured variant
Ingredients
Units
Temperature
Servings
Chicken
- 1 whole chicken, about 1.6 to 1.8 kg rounded
- 1 can of lager beer, 330 to 440 ml, a plain pale lager; pour out roughly half before use, or use the same volume in a vertical roaster stand's cup instead of the can itself rounded
- 12 g baking powder, rubbed into the skin only, not the flesh; it is what lets the skin crisp rounded
Rub
- 15 g kosher salt rounded
- 15 g dark brown sugar rounded
- 10 g sweet paprika rounded
- 6 g coarse black pepper rounded
- 6 g garlic powder rounded
- 5 g onion powder rounded
Dietary labels are a guide, not a guarantee. If you have an allergy, read the ingredients yourself.
Method
- Remove any giblets and pat the chicken very dry, inside the cavity and all over the skin. Damp skin steams instead of crisping, so take the time here.
- Rub the baking powder into the skin only, avoiding the flesh underneath. It raises the skin’s pH, which speeds browning and lets it dry out and blister into something crackling rather than tightening into rubber.
- Mix the rub and season everywhere: outside, inside the cavity, and worked a little under the breast skin where you can reach it.
- Dry-brine uncovered in the fridge for at least 4 hours, overnight if you can. As with any rubbed bird, dry skin at the start of the cook is most of the difference in the result.
- Set the grill up for indirect heat, target 180°C on the cool side, or preheat an oven to 190°C.
- Prepare the stand. Pour out roughly half the beer, or fill a vertical roaster stand’s cup with the same amount. A dedicated stand is the safer choice over balancing the bird on a bare can: a stand has a wide, flat base, while a can can tip, and a tipped rig means hot fat and liquid landing on bare skin. Use the can only if that is genuinely all you have, and set it on a stable, level surface before you start.
- Lower the chicken’s cavity down over the can or the stand’s spike, legs forward, so it stands upright with the legs forming a tripod with the base.
- Move the whole assembly onto the indirect side of the grill, or into a roasting pan in the oven. Lift it by the stand’s base or a firm grip on the legs, never by the can alone with the bird’s weight hanging off it, and carry it as little distance as possible.
- Cook until the thigh reads about 80°C and the breast reads 74°C, roughly 1 hour 15 to 1 hour 40 for a 1.6 to 1.8 kg bird. Keep the lid down; there’s nothing to baste here and little reason to open it often.
- Lift the chicken off the stand carefully before carving, using tongs inside the cavity rather than tipping the assembly toward you, and let the beer or the can’s contents drain away from you, not toward you. Rest 15 minutes, then carve.
Notes
- What the beer actually does, honestly. Testing with a probe thermometer has shown the liquid in the can never gets much past 55°C to 60°C, well short of boiling, because a layer of rendered fat floats on top and blocks most of what little steam or aroma might otherwise escape, and because the meat around the cavity is the coldest part of the bird for most of the cook. What flavour compounds beer has are a small fraction of a mostly water-and-alcohol liquid to begin with. None of that adds up to real flavour penetration, and side-by-side tasting bears this out. What the technique gets right is the upright position itself: standing the bird up lets hot air reach the legs and back as evenly as the breast, and lets rendered fat drip away instead of pooling and steaming the skin from below.
- A proper vertical roaster stand beats a can on every count except novelty. It’s more stable, easier to lift, and does not involve a hot, pressurised container of liquid a few centimetres from your hands. If you cook birds like this more than once, it’s worth owning one.
- This is the plain version on purpose. No glaze, no sauce brushed on at the end; the rub and the technique are the whole point. If you want a flavoured direction, this site also has a chipotle-lime version and a wheat-beer-and-mustard version built the same way.
- Ahead. Mix the rub and dry-brine the chicken up to a day ahead. Set up the can or stand only on cooking day.
Ingredient substitutions
- The beer can be a non-alcoholic lager with no real difference in outcome, given how little of it contributes to the meat either way. Plain water with a smashed garlic clove and a bay leaf in the can works just as well for the same reason.
- No grill. The oven route in step 5 works well: 190°C, same roasting time, no basting needed. A rimmed sheet pan or roasting tin catches any drips from the stand.
- Rub swaps. A pinch of smoked paprika in place of a third of the sweet paprika gives an oven-cooked bird a little more grill character. Cayenne can go in for some heat, in place of a couple of grams of the black pepper.
Sources consulted
- USDA: safe minimum internal temperature chart
- AmazingRibs: beer can chicken, the science and the safer alternative
Good with
- Alabama white sauce
- Chipotle-lime beer can chicken
- Japanese potato salad
- Weissbier and mustard beer can chicken
Sources consulted
From Christoph Mayer