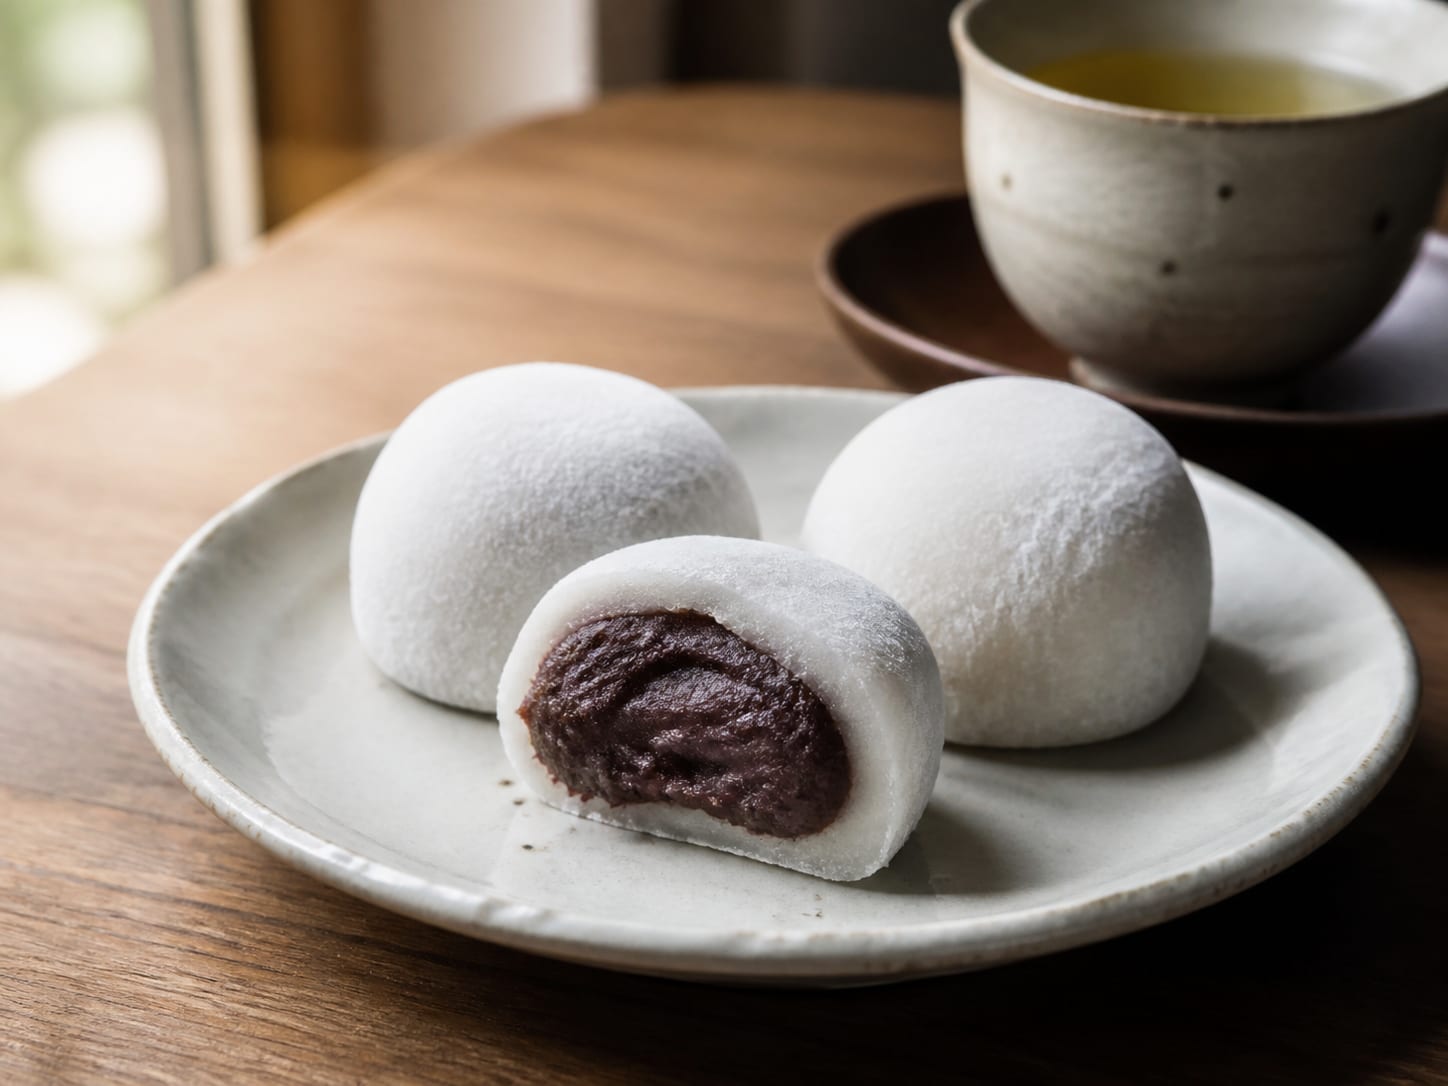
Daifuku
Snow-white pounded rice cake wrapped around a ball of sweet red bean paste, made on the stovetop in minutes with no oven at all. One of the most iconic classic wagashi, and far easier at home than it looks.
Prep30 min
Cook3 min
Rest15 min
Servings9
Method and ratios adapted from Just One Cookbook's daifuku recipe
Ingredients
Units
Temperature
Servings
Mochi dough
- 90 g glutinous rice flour, sold as mochiko or shiratamako in Asian grocery stores rounded
- 38 g granulated sugar rounded
- 135 ml water rounded
Filling and dusting
- 300 g sweet red bean paste (anko), koshian (smooth) or tsubuan (chunky), store-bought or homemade rounded
- 40 g potato starch or cornstarch, for dusting; you will not use all of it rounded
Dietary labels are a guide, not a guarantee. If you have an allergy, read the ingredients yourself.
Method
- In a microwave-safe bowl, whisk the glutinous rice flour and sugar together. Whisk in the water until completely smooth, with no dry lumps left.
- Cover the bowl loosely with plastic wrap, leaving a gap for steam to escape, and microwave on high for 1 minute. Stir well with a wet silicone spatula, scraping the sides and bottom.
- Microwave for another minute, stir again, then microwave in 30-second bursts, stirring between each, until the dough turns from cloudy white to glossy and translucent all the way through and pulls together into one sticky mass. About 3 minutes total, depending on your microwave.
- Dust a sheet of parchment paper generously with potato starch or cornstarch. Turn the hot dough out onto it and dust the top too. Using a rolling pin, or dusted knuckles, press and roll the dough to an even 3 to 4 mm thickness.
- Slide the dough, still on its parchment, onto a tray or plate and refrigerate for 15 minutes, just until cool enough to handle comfortably. Do not chill it longer, or it firms up too much to shape well.
- While the dough cools, divide the anko into 9 portions, about 33 g each, and roll each between your palms into a smooth ball.
- Cut the dough into 9 rounds with a floured cutter or a knife, about 9 cm across, re-rolling the scraps as needed. Brush the excess starch off each round.
- Working one round at a time, set an anko ball in the centre. Gather the edges up and over the filling, pinching them together at the top to seal it in completely. The dough stretches easily, so work gently, and patch any thin or torn spots with a scrap of dough pressed on.
- Dust the sealed seam with a little more starch and set the daifuku seam-side down. Repeat with the rest, then brush off any excess starch before serving.
Notes
- The dough is very sticky before it cools. Keep your hands, the parchment, and any tools well dusted with starch throughout, and work quickly once it is cool enough to handle.
- Daifuku dries out and hardens fast. They are best the day they are made, and noticeably firmer by the next day even in an airtight container at cool room temperature.
- Do not refrigerate finished daifuku unless the weather is very hot. The cold firms the rice cake into an unpleasant, hard texture; if you must chill them, wrap each one and bring back to room temperature before eating.
- Store-bought anko varies a lot in sweetness and moisture. If it feels very soft, chill it briefly so it holds its shape as a ball while you wrap.
- No oven is used anywhere in this recipe: the only heat is the brief microwave step that cooks the rice flour dough itself.
Sources Consulted
Sources consulted
The flour-to-sugar-to-water ratio, the microwave cooking method with its stir intervals, and the short chill before cutting come from the source. The batch size scaled to nine, the ingredient wording, and the assembly instructions are original.
From Christoph Mayer